Snail Drawing Tutorial
Snail
Various animals are constantly advancing, staying fast to persevere through the conditions they’re in. Snails take on a substitute system, in any case. These outcast like creatures can arrive in a large number of shapes and assortments, yet no matter what their appearance one thing is substantial: these little men are rarely in a hurry! Learn this blog and visit the more latest drawing tutorials like Cartoon pinkie pie drawing.
Because of the complexity of their appearance, it might be a piece testing to sort out some way to draw a snail fittingly. Fear not, anyway, as this guide deals with you! Our step by step educational activity on the most capable technique to draw a snail will permit you to draw one of these creatures at your own speed!
Stage 1 – snail Drawing
For this underlying step of our helper on the most capable strategy to draw a snail we will start nearly nothing! We will draw the two little stalks on the snail’s head in the first place. These are known as the upper arms and have the snail’s eyes close to the completion of them. You can draw these extremities using a couple of twisted lines with negligible round handles close to the completion of them.
They will then, be joined by another little twisted line between the limbs. Finally, you can add a little touch onto the idea about each arm.
Stage 2 – Next, draw the highest point of the snail
We will continue to add on to the highest point of your snail drawing in this following stage. All you need to achieve for this step is characterize a couple of twisted limits plummeting from the appendages that you pulled in the underlying step. Then, you can add two thick lines with spots around the end for the lower limbs of the snail’s face.
Stage 3 – By and by, draw the foot of your snail
The level base of the snail is known as the foot, and that is the very thing that we will draw in this piece of our helper on the most capable strategy to draw a snail. To do this, fundamentally expand the line coming from the front of the face into a little lump at the front of the foot.
Then, at that point, expand that retrogressive in a wavy line until you have the underpinning of the snail. It will then, at that point, cross-over in on itself to approach the back of the foot.
Stage 4 – Next, draw the design of the shell
Without a shell, a snail would be a slug, so we will start to add one to your snail drawing in this next part. The shell will be drawn with a significant, changed line on the back of the snail. It will in like manner have a little thump at the left-hand side of the groundwork of the shell. The reference picture will guide you concerning how this should be shaped as you draw.
Stage 5 – By and by, characterize a twisted limit inside the shell
We will start to create the internal spinning condition of the shell in this step of our helper on the most capable strategy to draw a snail. This line can loosen up from the lower part of the shell and towards the point of convergence of the shell. This line will be exceptionally twisted and changed, and you will develop to it in the accompanying several means.
Stage 6 – Next, continue drawing the contorting condition of the shell
For this piece of your snail drawing, you can continue drawing the winding shape that you began in the past step. To do this, simply grow the twisted line from the past step into an inward contorting shape, as shown in our reference picture.
You can similarly add one more little line at the left-hand side of a smidgen of extra detail. Then, at that point, you basically have two or three extra last nuances to add, so we ought to forge ahead toward the accompanying stage!
Stage 7 – Draw some surface detail for your snail drawing
This step of our helper on the most capable technique to draw a snail will be connected to adding a couple of last nuances before you progress forward toward the concealing step of our helper. By far most of these nuances will be on the shell that you’ve been attracting as yet. These nuances will be drawn using a couple of nearly nothing, twisted and sharp lines commonly all through the shell to give it a few surface nuances.
Then, you can add a couple of extra lines to the groundwork of the snail’s foot for fundamentally more detail. That will do it for the nuances in this assistant, but before you forge ahead with make sure to add any last nuances of your own! You could draw in an establishment to show what kind of environment this snail is in, for one thought. You could moreover draw a couple of other little creatures to invest energy with the snail as well! These are several out of a vast proportion of considerations you could go for. So make sure to get creative with it!
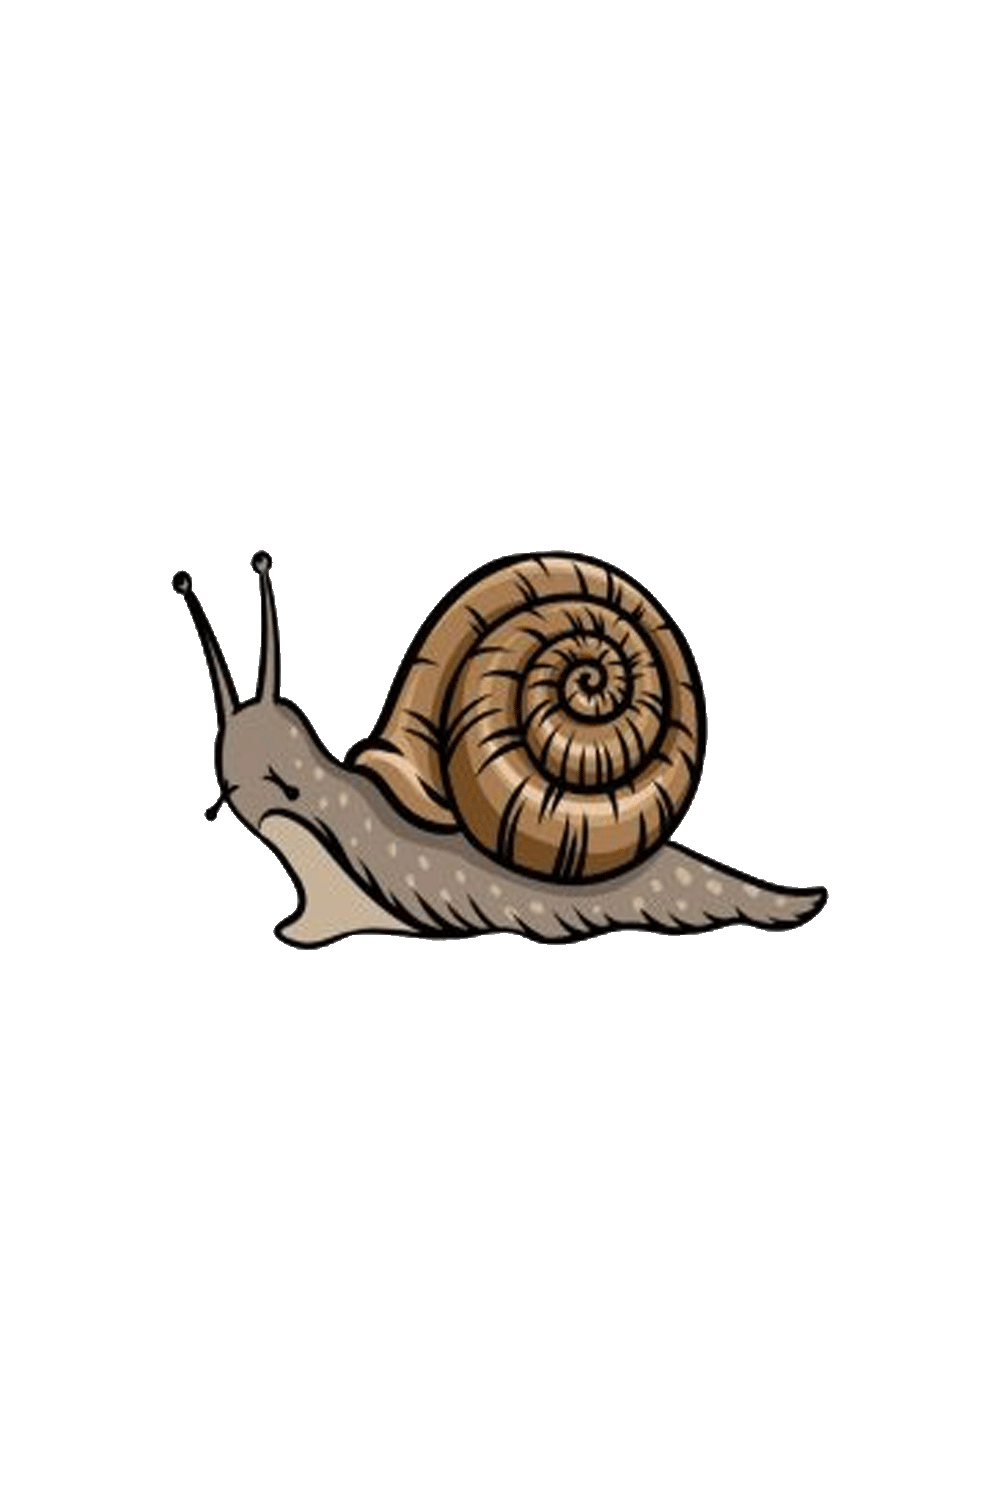
Stage 8 – As of now finish your snail drawing with some tone
You’ve shown up at the last step of your snail drawing, and for this step you get to rule and put yourself out there with your main superb assortments! For our image, we went with many browns to assortment in the snail.
Also Read divine access movie